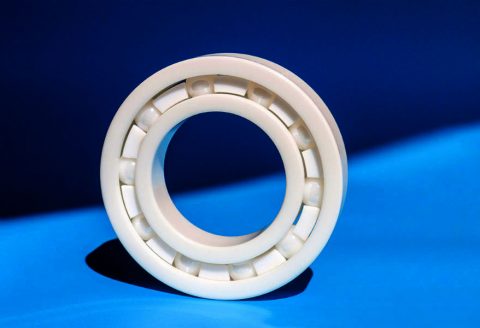
The zirconia ceramic material has its own lubrication effect, so there is a great breakthrough in the fittings of the dispensing valve. The zirconia ceramic dispensing valve has a built-in cushioning and compensating elastic washer to ensure stable and good sealing performance, then the zirconia ceramic dispensing valve How should it be maintained? Nuoyi Precision Ceramics will share with you:
The thickness of the ceramic dispensing valve shell exceeds the standard data requirements of GB, JB and American Standard ANSI, and the chemical elements and mechanical properties of the main material meet the specified standard requirements.
First, use a wrench to unscrew the joint of the glue inlet, clean the joint of the glue inlet, and use a wrench to unscrew the joint of the glue outlet. After unscrewing, you will see a mandrel in the material tank.
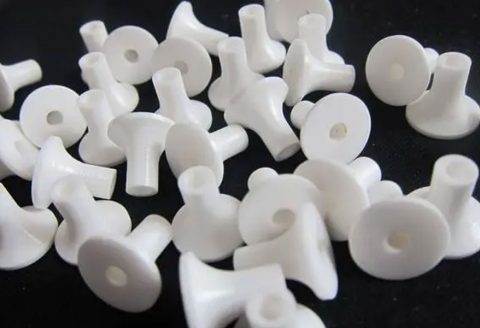
Use a flat-blade screwdriver to unscrew the ejector rod counterclockwise (note that there are two small nuts on the ejector rod that fix the position of the ejector rod), then pull out the ejector rod, remove the white gasket, clean the material cylinder, and then put the white Insert gasket.
Screw in the ejector rod (note that the two small nuts that fix the position of the ejector rod should be re-installed), and neither too tight nor too loose when screwing in, to ensure that there is no leakage of glue here, and then the glue The port joint is screwed in. If the white gasket is worn or deformed, the white gasket at this position should be replaced.
If the glue is dripping or the glue cannot be locked, you can unscrew the glue outlet connector, turn the ejector rod up, and the rotation range should not be too large, and then screw the glue outlet connector on.